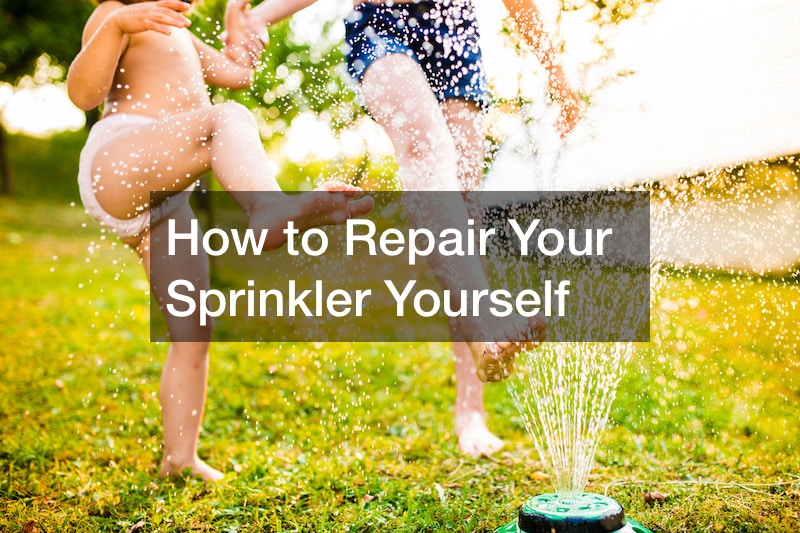

It’s summer, and if you have a lousy sprinkler, repair may be in order. Getting it fixed quickly will ensure that your lawns get watered and you have a great space to cool off. Before you start your sprinkler repair, turn off the sprinkler system. Using a trenching shovel, dig around the sprinkler head.
Be careful not to cut through the sprinkler lines feeding water to your yard.
Grab your channel locks and turn the top part of the sprinkler head. You should see down the water shaft to assess the blockage. Dig up the problematic head and clean it up before screwing it back down. Get the dirt from around the sprinkler head, as it causes the water to come up at an angle. You might need to pack the dirt around it to make the fitting firm.
Test to see if the system is working efficiently. If not, you might need to replace the entire sprinkler or the inner nozzle. Note the filter that helps the sprinkler work efficiently. When adjusting your sprinkler always turn it clockwise to avoid creating side leakages. After sprinkler repair, test your sprinkler to ensure that it is running effectively. Keep sprinkler parts because you can always reuse them in future repairs.
