
Your furnace plays a vital role in keeping your home warm, especially when it’s cold outside. But just like any other appliance, furnaces can have issues that make them work less effectively. Knowing how to figure out and fix these problems can help you save both time and money. In this guide, we’ll explain step by step how to find and solve common furnace issues by yourself.
Understanding Basic Furnace Operation
Before delving into troubleshooting, it’s essential to have a basic understanding of how your furnace operates. Furnaces typically follow a startup sequence consisting of several steps:
- Draft Inducer Motor: The furnace’s draft inducer motor initiates the startup process by creating the necessary airflow for combustion.
- Pressure Switch Confirmation: A pressure switch confirms that proper draft is established before proceeding with ignition.
- Igniter Activation: Next, the igniter heats up to ignite the gas and initiate combustion.
- Gas Valve Activation: Once the igniter is hot, the gas valve opens to allow gas flow to the burners.
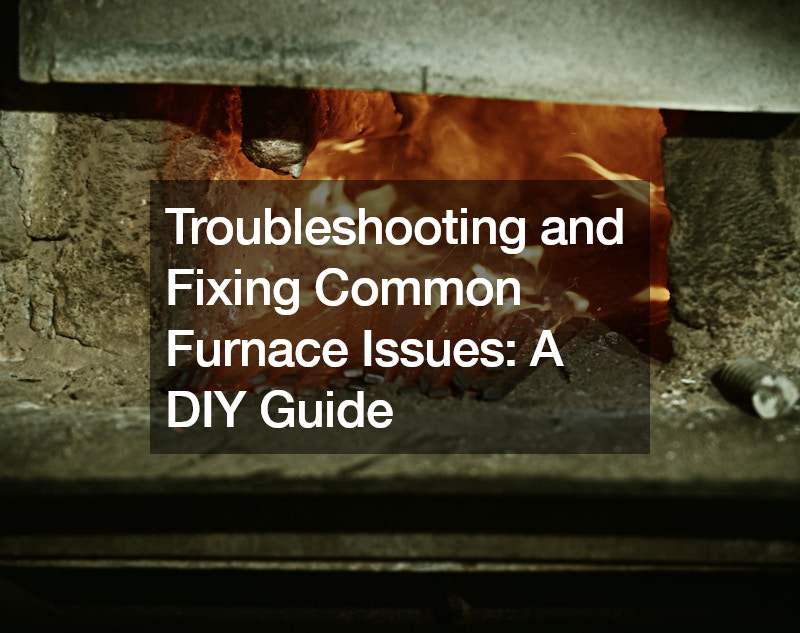
- Flame Detection: The flame detection sensor confirms the presence of a flame, ensuring safe and efficient operation.
- Main Blower Activation: Finally, the main blower fan starts to circulate heated air throughout your home via the ductwork.
Identifying Common Failure Modes
One of the most common issues homeowners encounter is when the furnace turns on but quickly shuts off without providing heat. This failure mode can occur due to various reasons, but a malfunctioning flame detection sensor is often the culprit.
When troubleshooting this issue, follow these steps:
- Observation: Observe the furnace’s startup sequence to identify where the process stops. Does it fail to ignite, or does the flame extinguish shortly after ignition?
- Understanding Lockout Mode: If the furnace fails to detect a flame after several attempts, it may enter lockout mode as a safety precaution.
- Inspecting the Flame Detection Sensor: The flame detection sensor is a critical component responsible for confirming the presence of a flame. Over time, carbon buildup on the sensor can interfere with its function, leading to ignition failure.
DIY Fixes
Fortunately, addressing a malfunctioning flame detection sensor is a relatively straightforward DIY task. Here’s how you can do it:
- Removal: Begin by disconnecting the flame detection sensor from the furnace’s control board. Use a suitable screwdriver to remove any mounting screws holding the sensor in place.
- Cleaning: Inspect the flame detection sensor for any signs of carbon buildup or debris. Cleaning the sensor with a soft cloth or a mild abrasive material can restore its functionality. Ensure the sensor is free from any obstructions that may hinder its ability to detect the flame accurately.
- Replacement: If cleaning doesn’t resolve the issue, consider replacing the flame detection sensor. Replacement sensors are readily available and relatively inexpensive. Choose a sensor that matches the orientation and mounting configuration of the original sensor to ensure compatibility.
- Testing: After cleaning or replacing the sensor, reassemble the furnace and test its operation. Monitor the startup sequence to verify that the burner remains lit for an extended period, indicating successful ignition.
Additional Troubleshooting Tips
In addition to addressing specific issues related to the flame detection sensor, there are other common furnace problems you may encounter. Here are some additional troubleshooting tips:
- Checking Air Filters: Clogged or dirty air filters can restrict airflow, leading to reduced furnace efficiency and performance. Regularly inspect and replace air filters as needed to ensure proper airflow.
- Inspecting Thermostat Settings: Verify that your thermostat is set to the desired temperature and mode (heat or cool). Also, check the thermostat’s batteries and replace them if necessary.
- Inspecting Ductwork: Leaks or blockages in the ductwork can hinder airflow and reduce heating efficiency. Inspect ducts for signs of damage or obstructions and repair as needed.
- Testing Limit Switches: The furnace’s limit switches help prevent overheating by shutting off the burner if the temperature exceeds safe levels. Test the limit switches for proper operation and replace them if faulty.
Preventive Maintenance
In addition to troubleshooting and fixing specific issues, regular furnace service is essential for maintaining optimal performance and efficiency. Schedule annual maintenance inspections with a qualified HVAC technician to ensure your furnace operates smoothly and reliably throughout the heating season.
Conclusion
Understanding how to troubleshoot and fix common furnace issues empowers homeowners to address minor problems on their own, saving time and money on professional repairs. By familiarizing yourself with your furnace’s operation and performing routine maintenance tasks, you can keep your heating system running efficiently and effectively, ensuring comfort and warmth during the colder months. Remember, safety should always be a priority when working with furnaces or any HVAC equipment. If you’re unsure about performing repairs, consult a qualified professional for assistance. With the knowledge gained from this DIY guide, you can tackle furnace issues with confidence and keep your home cozy all winter long.
.
