When water starts dripping inside your home during a storm, panic can set in fast. Roof leaks are stressful, but knowing how to fix a leaking roof from the inside can help you minimize damage until permanent repairs can be made.
For DIY enthusiasts, this guide breaks down exactly what to do when your roof starts leaking and you can’t get on the roof right away—whether due to rain, safety, or access issues. We’ll walk you through the best temporary interior fixes, essential tools, and what signs to watch for so you can tackle the problem quickly and confidently.
Can You Really Fix a Roof Leak from the Inside?
Yes—but it’s important to understand this is usually a temporary solution. Interior repairs help contain the problem and protect your home until you can fix the roof from the outside.
Why fix it from the inside?
- It’s safer during bad weather
- You can act fast to stop water damage
- It helps manage roof leaks in heavy rain when you can’t access the roof immediately
- It buys time until a full repair can be scheduled
How to Fix a Leaking Roof from the Inside

Fixing a leaking roof from the inside won’t solve the problem permanently, but it can help you stop the damage and protect your home in a pinch. Here’s how to temporarily patch things up until full exterior repairs can be made.
Step 1: Identify the Source of the Leak
The first challenge in fixing a roof leak from the inside is tracking it down. Water can travel along rafters, insulation, or drywall before it shows up as a drip or stain.
Look for signs like:
- Damp spots on ceilings or walls
- Bubbling or sagging drywall
- Dripping from light fixtures
- Wet insulation in the attic
Tip: If you have attic access, inspect the rafters or decking above the leak. Follow the wet trail upward—it usually leads to the entry point.
Step 2: Contain the Water
Before you patch anything, stop the water from spreading inside your home.
Here’s what to do:
- Place a bucket, pot, or large bowl under the leak
- Use old towels or rags to soak up water
- If the ceiling is bulging, poke a small hole with a screwdriver to release trapped water (this prevents drywall collapse)
Don’t skip this step. Containing the water limits drywall and flooring damage.
Step 3: Create a Temporary Patch with Roofing Tape or Sealant
Once you’ve pinpointed where the water is entering your home, you can apply a temporary patch to stop or slow the leak.
You’ll need:
- Roofing tape or waterproof duct tape
- Roofing sealant or caulking (latex or silicone-based)
- A utility knife
- Gloves
- Flashlight or headlamp
How to patch it:
- Dry the area as much as possible using a towel or cloth.
- Apply roofing tape directly over the leak. Press down firmly to create a waterproof seal.
- If tape isn’t available, apply roofing sealant with a caulking gun. Be generous and spread evenly across the crack or hole.
- Let it dry—most sealants will need several hours.
Pro tip: Some homeowners use a piece of sheet metal or plastic over the area, secured with tape and sealant, for extra reinforcement.
Step 4: Insulate the Area and Prevent Further Moisture
If water has already made it into your attic or insulation, it’s crucial to dry it out to prevent mold.
What to do:
- Pull out any soaking wet insulation
- Use a fan or space heater to dry the area (ensure safety when using electrical items in damp spaces)
- Place a moisture absorber (like DampRid) nearby to reduce humidity
Important: Replace insulation later, once the leak is fully repaired and the area is dry.
Step 5: Monitor the Leak
Temporary patches aren’t forever. After you fix the leak from the inside:
- Check the spot after the rain stops
- Inspect again during the next rainfall
- If the patch holds, great—but don’t delay a full exterior repair
If the leak worsens or spreads, the patch might not be enough. That’s your signal to call a roofer or safely assess the roof when the weather clears.
When Should You Not Attempt an Interior Roof Fix?
While many DIYers are comfortable patching a leak themselves, some situations call for immediate professional help.
Don’t try to fix the leak on your own if:
- The water is near electrical wiring or panels
- The ceiling is sagging significantly (it may collapse)
- The roof structure seems damaged or unsafe
- You can’t locate the source of the leak
Safety should always come first. Use your judgment and call a pro when needed.
What Causes Roof Leaks in the First Place?

Understanding the root causes can help you prevent future leaks. Here are the most common culprits behind roof leaks that you should watch out for:
- Cracked or missing shingles
- Worn-out flashing or sealant
- Clogged gutters
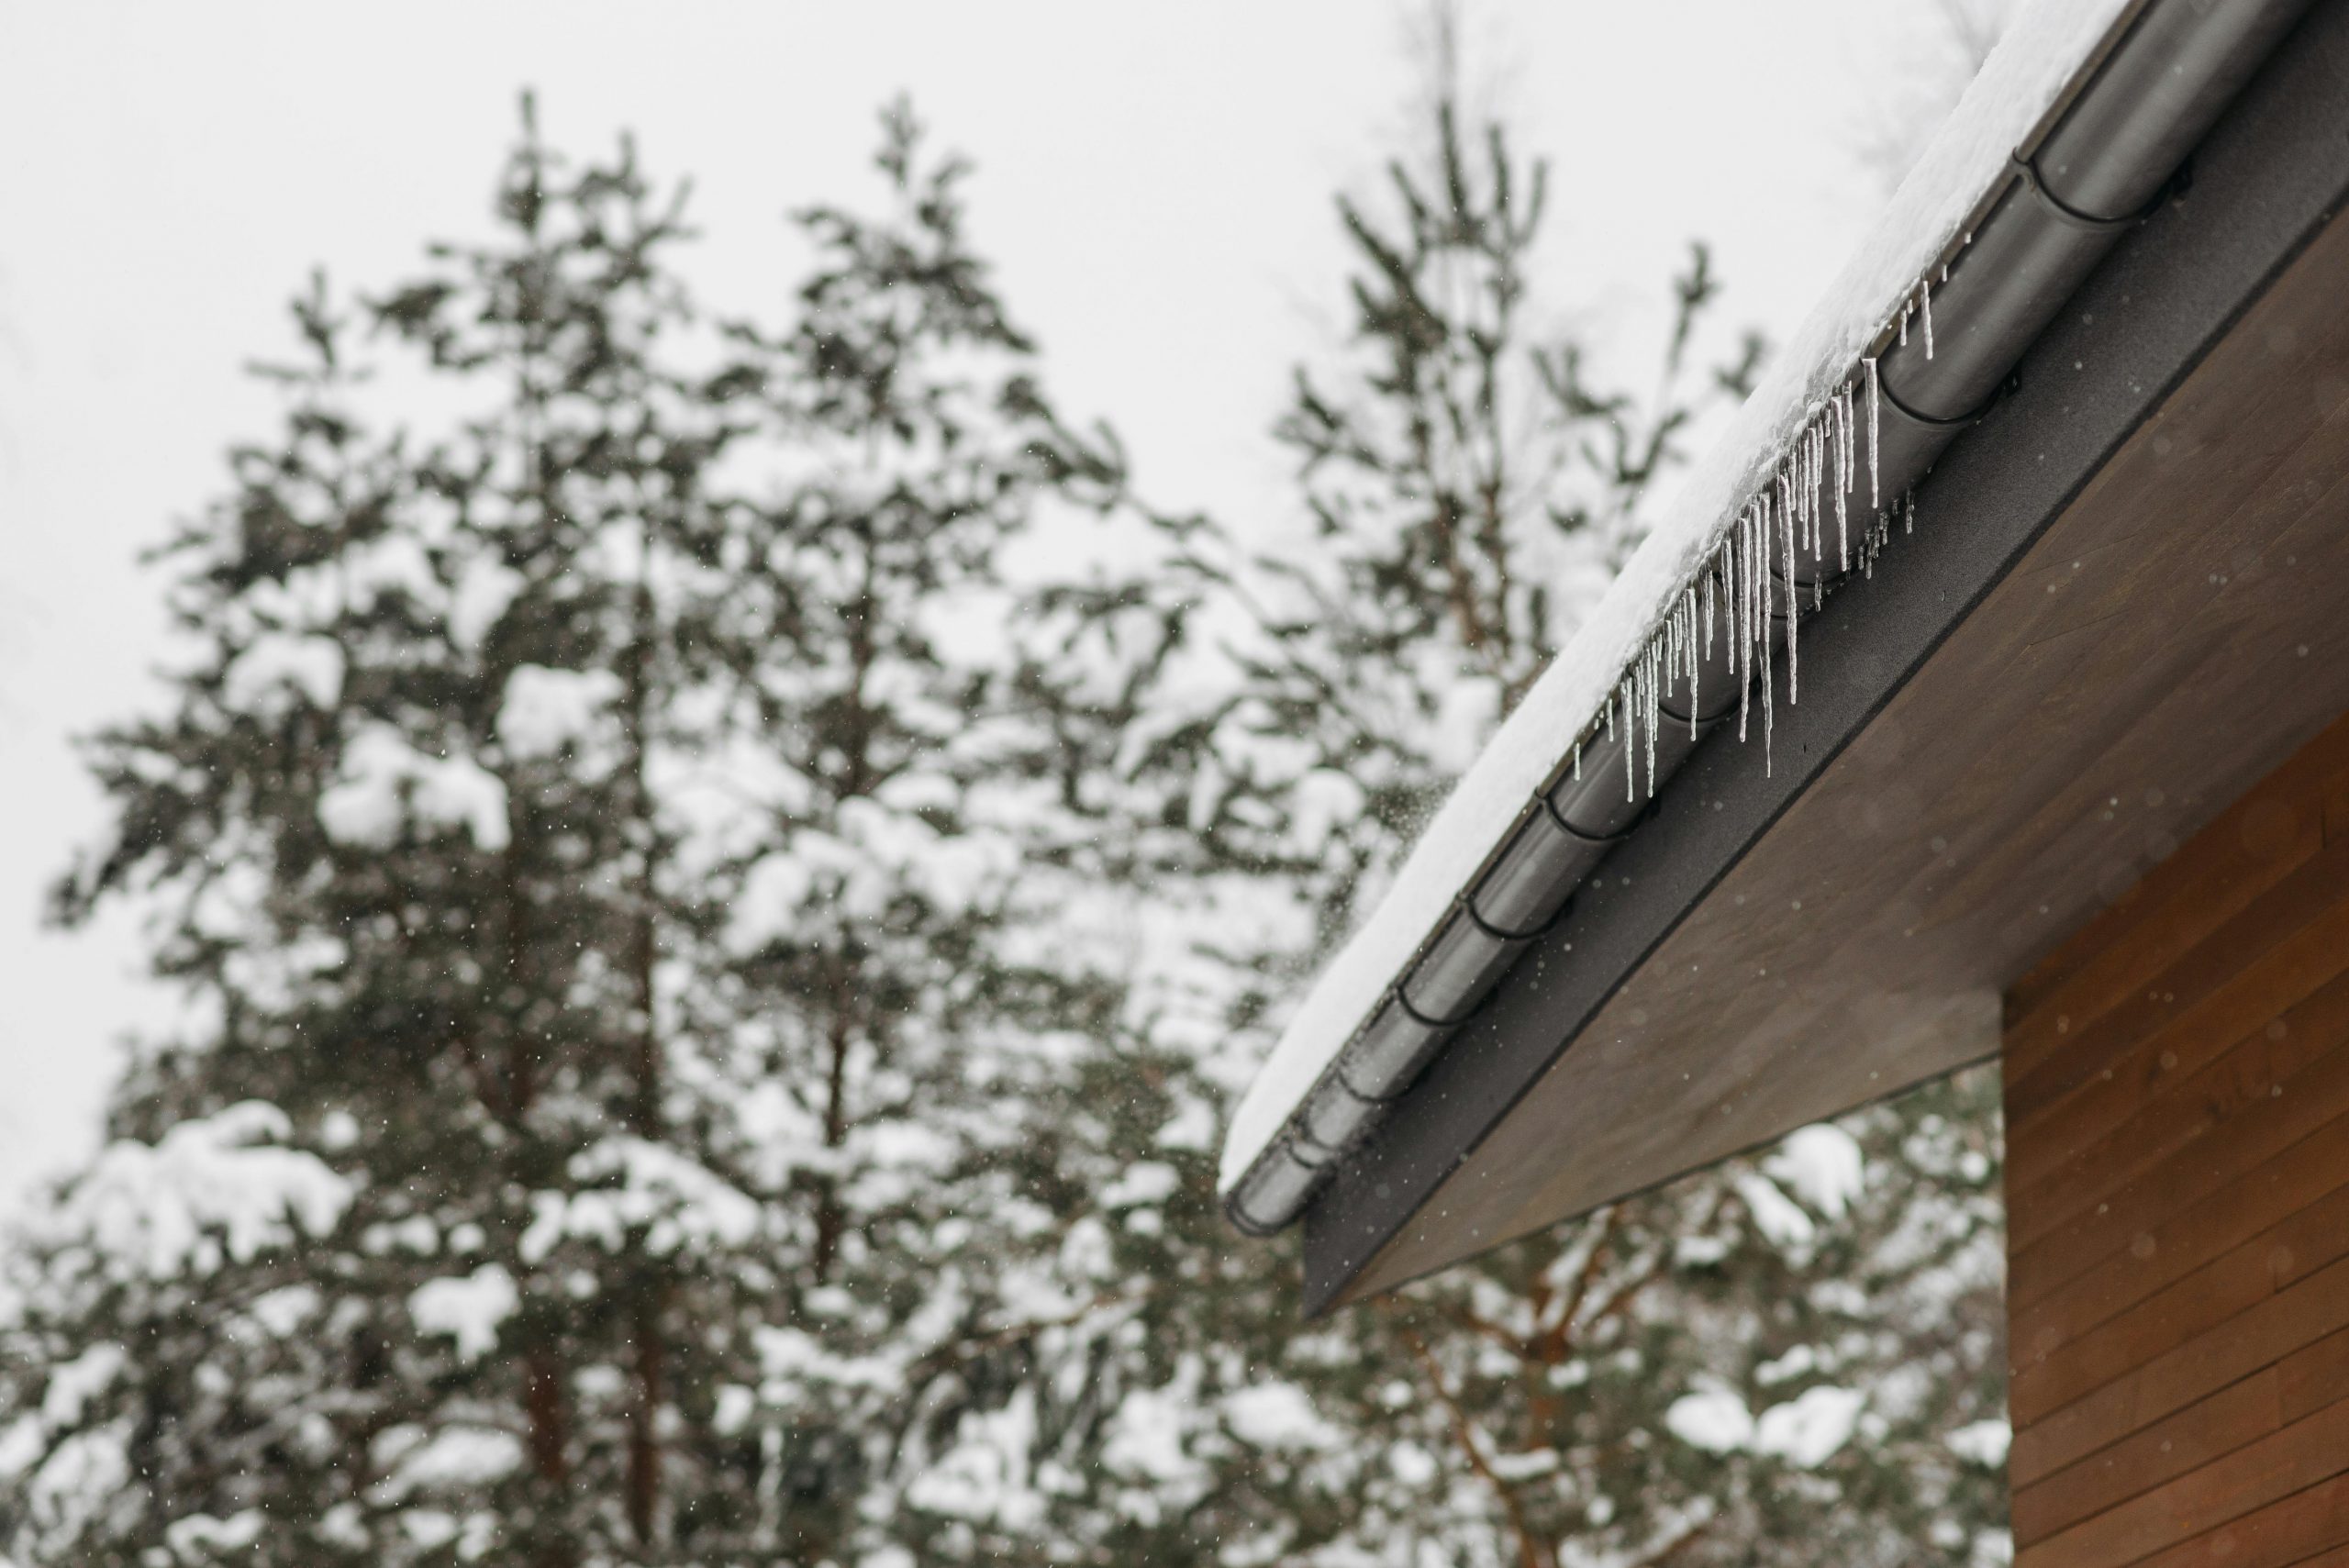
- Ice dams
- Roof aging or poor installation
- Damage from storms, wind, or animals
DIY Tip: After patching the inside, schedule a full inspection when it’s safe. Many leaks aren’t obvious from the ground.
What Materials Work Best for Interior Roof Leak Fixes?
Here are the best DIY materials to keep in your emergency repair kit:
| Material | Use |
| Roofing tape | Seals small cracks and holes |
| Roof patch sealant | Waterproof filler for cracks/gaps |
| Plastic sheeting | Covers large areas temporarily |
| Utility knife | For trimming damaged drywall or shingles |
| Caulking gun | Applies roofing sealant cleanly |
| Headlamp or flashlight | For attic work and tight spaces |
Having these items on hand helps you act fast when a leak starts.
Long-Term Solutions: What to Do After the Storm
Once the weather clears, it’s time to make permanent roof repairs. Temporary patches won’t last forever.
Your follow-up checklist:
- Inspect your roof from the outside
- Replace damaged shingles or flashing
- Seal all roof penetrations (vents, chimneys, etc.)
- Check attic insulation for moisture and replace if needed
- Repaint or replace damaged ceiling drywall
If you’re comfortable with exterior roof work, DIY repairs are possible. Otherwise, hire a licensed roofing contractor.
Closing Thoughts
Fixing a leaking roof from the inside isn’t a permanent solution, but it can help you avoid significant water damage in the short term. For DIYers, having the right tools on hand and knowing the proper steps to take can make all the difference in minimizing the impact of a leak. Acting quickly to contain water, applying temporary patches like roofing tape or sealant, and following up with a thorough exterior inspection are crucial.
While temporary fixes can provide relief, water damage doesn’t wait, and a fast response can save you thousands in repair costs. Protect your home and prevent further damage by staying prepared, being proactive during storms, and addressing leaks right away.
