
Drywall damage happens more often than you think. Whether it’s a doorknob punch, a moving mishap, or nail pops from settling walls, you don’t need to call in a professional every time. If you’re new to home repairs, don’t worry—learning how to repair drywall without a pro is entirely doable with a little time, patience, and the right tools.
This guide walks you through everything you need to know as a first-time DIYer: from assessing the damage to finishing the wall like it never happened.
What Is Drywall and Why Does It Get Damaged?
Before diving into repairs, let’s start with the basics.
Drywall, also known as sheetrock or plasterboard, is a common material used for interior walls and ceilings. It’s made of a gypsum core sandwiched between two paper layers. While it’s affordable and easy to install, it’s also prone to dings, dents, cracks, and holes.
Common Causes of Drywall Damage:
- Furniture bumps or doorknob impacts
- Moisture or water leaks
- Nail or screw pops from wall settling
- Accidental punctures
- Poor installation or patch jobs
- Expansion and contraction due to temperature shifts
No matter the cause, the good news is: most drywall issues are easily fixable on your own.
What Tools and Materials Do You Need?

You don’t need a contractor’s toolbox to repair drywall. Most tools are affordable and available at any hardware store.
Basic Tools:
- Putty knife (4-inch and 6-inch)
- Utility knife
- Sanding sponge or sandpaper (120 to 150 grit)
- Paintbrush or roller
- Drill (for larger patches, optional)
Materials:
- Lightweight joint compound (also called mud)
- Drywall tape (mesh or paper)
- Drywall patch or scrap piece of drywall
- Primer and paint (to match your wall)
- Screws (for securing larger patches)
- Backer board or wood strips (for holes over 3 inches)
How to Repair Small Holes in Drywall (Under ½ Inch)
These include nail holes, screw holes, or tiny dents. They’re the easiest to fix and usually don’t need tape or a patch.
Steps:
- Clean the Area – Use a utility knife to remove loose edges.
- Apply Joint Compound – Use a small putty knife to fill the hole with a dab of mud.
- Smooth It Out – Feather the edges so it blends into the wall.
- Let It Dry – Wait at least 24 hours.
- Sand Lightly – Use a sanding sponge to smooth the surface.
- Prime and Paint – Touch up with matching paint.
Time Needed: Less than 30 minutes of work (plus drying time)
How to Repair Medium Holes (½ Inch to 3 Inches)
These are slightly larger holes—often caused by door handles or minor impacts. A self-adhesive mesh patch or a “repair clip kit” works great here.
Steps:
- Clean Up the Hole – Trim loose drywall edges using a utility knife.
- Stick on the Patch – Apply a mesh patch over the hole.
- Cover with Joint Compound – Use a 6-inch putty knife to apply mud over the patch in thin layers.
- Feather the Edges – Apply a second, wider layer to blend into the wall.
- Dry, Sand, Repeat – Let dry between coats and sand between layers.
- Prime and Paint – Match your wall’s color and finish.
Pro Tip: Don’t rush the drying. Thick compound can crack if not fully dry before sanding or painting.
How to Repair Drywall With Large Holes (Over 3 Inches)
These need a bit more effort but are totally manageable with the right approach. You’ll use either a drywall repair kit or create a custom patch using a scrap piece of drywall.
Option A: Using a Repair Kit
- Prep the Area – Clean up ragged edges.
- Install the Backer Plate – Attach the support plate or wood strip inside the hole.
- Attach the Patch – Screw or adhere the drywall piece into the backer.
- Apply Joint Compound – Use two to three thin coats over the patch.
- Tape the Seams – Use mesh or paper tape along the seams.
- Sand and Paint – Finish like a pro.
Option B: DIY Patch from Scrap Drywall
- Cut a Square Around the Hole – Make the damaged area neat and square.
- Cut a Patch to Match – Use scrap drywall the same thickness as your wall.
- Install a Backer Strip – Insert and secure wood strips behind the hole.
- Screw in the Patch – Secure the drywall patch to the strips.
- Tape the Joints – Use drywall tape to cover seams.
- Apply Compound and Sand – Two or three layers, feathered wider each time.
- Prime and Paint – Once it’s smooth and flush, you’re ready to paint.
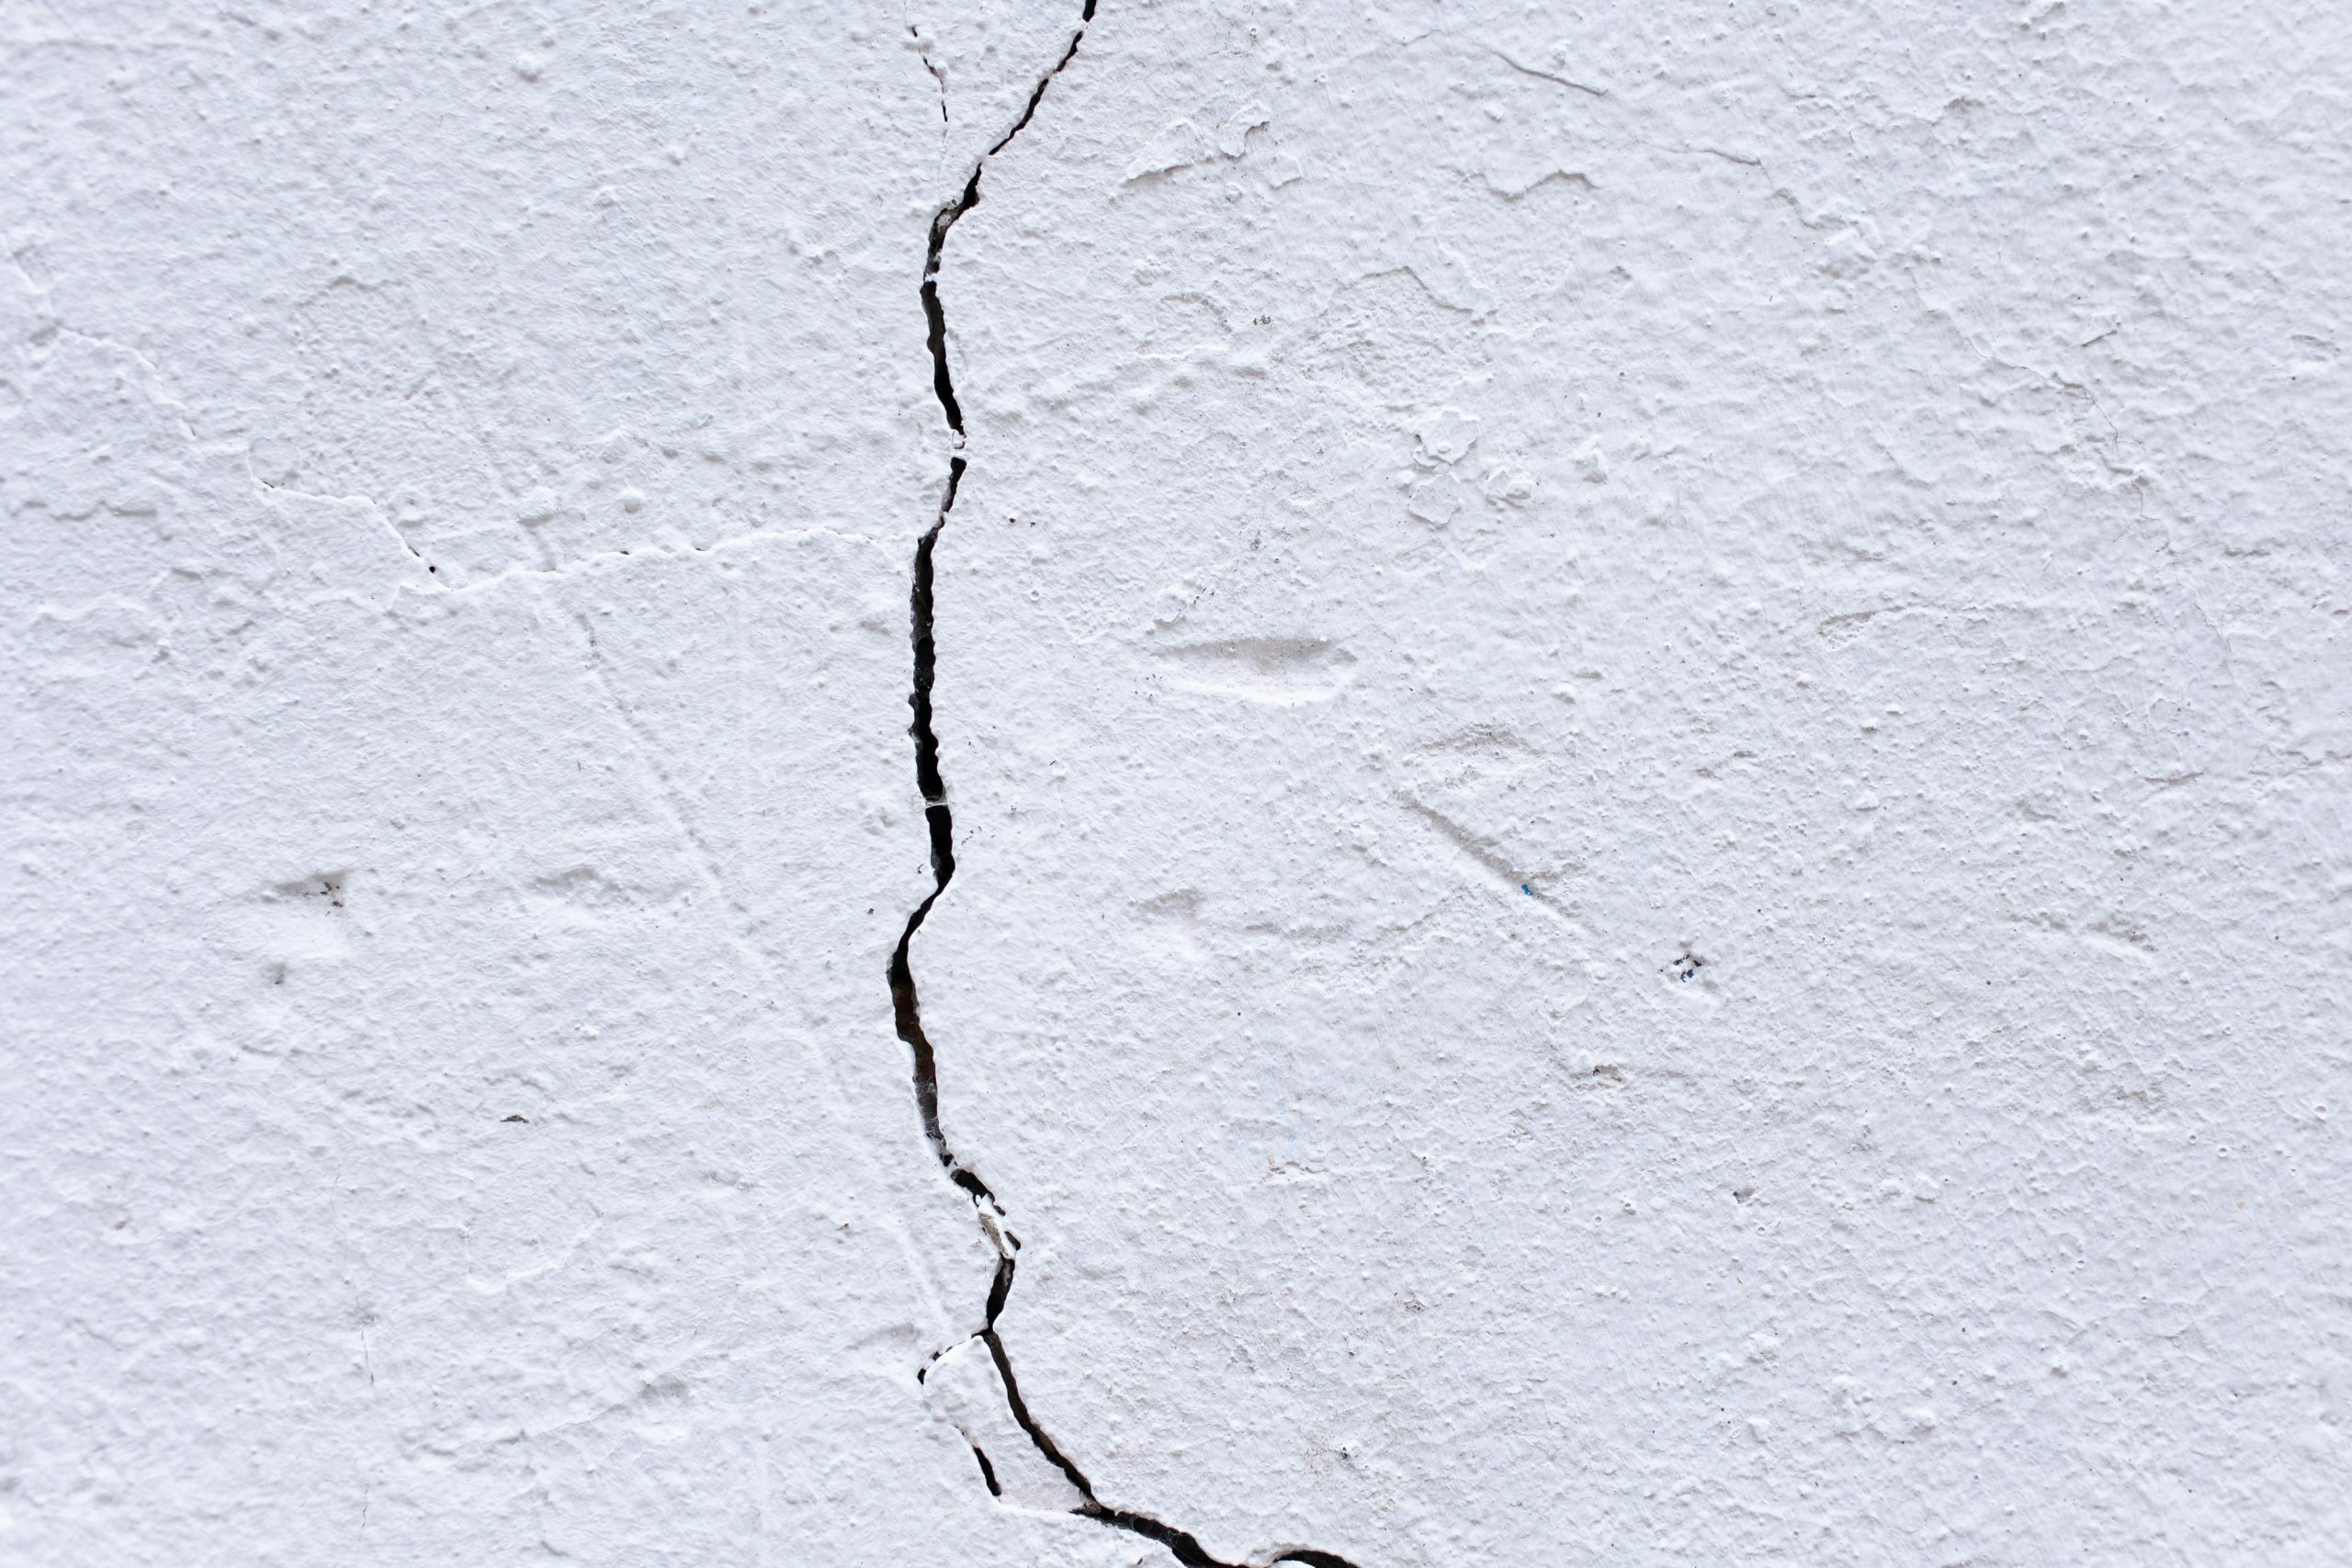
How to Repair Cracks in Drywall
Cracks near windows, doors, or corners are common due to shifting foundations. The key is preventing them from coming back.
Steps:
- Widen the Crack Slightly – Use a utility knife to create a V-groove so the compound can grip.
- Apply Tape – Paper tape is best for cracks. Embed it in a thin layer of joint compound.
- Smooth It Out – Apply two more layers of mud, feathering out each time.
- Sand Between Layers – Make it flush with the wall.
- Prime and Paint – Use a high-quality primer to prevent flashing.
Drywall Tape or Mesh: What’s Better for Repairs?
Paper tape is stronger and better for seams and long cracks. Mesh tape is self-adhesive and easier for beginners, but not as strong for structural cracks.
Tip: If you’re fixing a hole and want speed over durability, go with mesh. For corner cracks or stress points, choose paper tape.
How to Get a Seamless Finish on Your Patch
Want the repair to disappear? Here’s what pros do:
Tips for a Flawless Look:
- Use thin layers of compound—thick ones are harder to blend.
- Feather each coat wider than the last (first coat: 6 inches, second: 10 inches).
- Sand with a light touch to avoid grooves or uneven spots.
- Use a spotlight or flashlight sideways across the wall to check for shadows.
- Always prime before painting—raw compound absorbs paint unevenly.
What About Drywall Corners or Ceilings?
Corner beads and ceiling patches can be trickier, but still DIY-friendly with patience.
- For corners, replace or patch the corner bead, then apply joint compound in multiple layers.
- For ceiling cracks or holes, use the same patch techniques, but be ready to work overhead—use a step ladder and take breaks.
How to Avoid Making a Mess During Drywall Repair
Let’s be real—drywall dust gets everywhere. Even a small patch job can leave your floors looking like a snowstorm hit. But a little prep goes a long way in keeping things tidy.
Here’s how to stay ahead of the mess:
- Lay down a drop cloth or old sheet before you start sanding or applying compound.
- Tape off baseboards or adjacent furniture if the work area is tight.
- Use a dust collection attachment if you’re sanding with a power sander.
- Wet sanding (using a damp sponge) is great for small jobs and kicks up way less dust.
- Keep a shop vac nearby and vacuum between steps.
- Close doors or hang plastic sheeting if you’re working in a high-traffic area.
Drywall repairs don’t have to turn into a full-blown cleanup project. A little planning saves a lot of sweeping.
Can You Paint Immediately After Patching Drywall?

You’re done sanding. The wall looks smooth. You’re ready to paint—but wait! Is it too soon?
Here’s the deal: patience pays off.
Make sure you check off these steps first:
- The joint compound must be completely dry—usually 24 hours for each coat.
- After sanding, wipe the area with a dry cloth or sponge to remove dust.
- Always prime patched spots before painting, especially if the wall is a bold color or has a sheen (like eggshell or satin).
- If you skip primer, you might end up with “flashing”—those shiny spots that scream “bad patch job.”
Even if the patch looks perfect, a smooth paint finish is what makes your DIY work really disappear. Give it that extra bit of care at the end, and no one will ever know there was a hole there.
When Should You Call a Pro Instead?
DIY repairs work well up to a certain point. Consider calling in a professional if:
- The hole is larger than 12 inches or spans multiple wall studs
- You have extensive water damage or mold
- There’s structural movement behind the wall
- The damage affects electrical or plumbing systems
Final Touches: Matching Paint and Texture
After your repair is done, you’ll want to match the rest of your wall.
Paint Matching Tips:
- If you have leftover paint, use that.
- Otherwise, bring a paint chip to the store for a color match.
- If the wall has texture, try spray-on texture kits or brush-on techniques to mimic the finish.
Frequently Asked Questions
Can I repair drywall without sanding?
Not really—sanding ensures a smooth finish. But wet sanding with a damp sponge is a low-dust alternative for small areas.
How long does it take to repair drywall?
- Small holes: Same day
- Medium holes: 1–2 days (for drying)
- Large patches: 2–3 days (to allow layering and drying)
Do I need to prime before painting over joint compound?
Yes. Without primer, paint can absorb unevenly and appear blotchy.
You’ve Got This!
Learning how to repair drywall without a pro might seem intimidating at first, but it’s one of the most empowering skills a homeowner can learn. With a few basic tools and some patience, you can handle small to medium repairs confidently—and save a good chunk of money in the process.
Start small, follow the steps, and before you know it, your wall will look as good as new.