
If you’re staring at a hole in your wall and wondering, “Can I really fix this myself?” — the answer is yes. You don’t need a background in construction or a call to a handyman just to fix a ding or even a decent-sized hole in your drywall.
This guide will show you exactly how to patch a hole in drywall without a pro, even if this is your first time. No fluff, no expensive tools — just real steps that work.
Start Here: What Kind of Hole Are You Dealing With?
Before grabbing tools, figure out what kind of damage you’ve got. The size and depth of the hole determines your method, and it plays a big role in how to repair drywall the right way.
The Usual Types:
- Small holes (nail holes, screw pops): less than ½ inch
- Medium holes (accidental dents, doorknob punches): ½ to 5 inches
- Large holes (from moving furniture, heavy impact): 5+ inches
If it’s just a small blemish, you’re 30 minutes away from a flawless wall. Bigger holes take a bit more patience but are still very doable.
Tools and Materials You’ll Need (By Hole Size)

For Small Holes:
- Lightweight spackle or joint compound
- 2″ to 4″ putty knife
- Sanding sponge (medium to fine grit)
- Damp cloth
For Medium Holes:
- Adhesive mesh patch or patch kit
- Joint compound
- 6″ putty knife
- Sandpaper (120–220 grit)
For Large Holes:
- Piece of drywall (same thickness as existing wall)
- Utility knife or drywall saw
- Screws and drill
- Wood strips for backing (if studs aren’t nearby)
- Joint compound
- Drywall tape (mesh or paper)
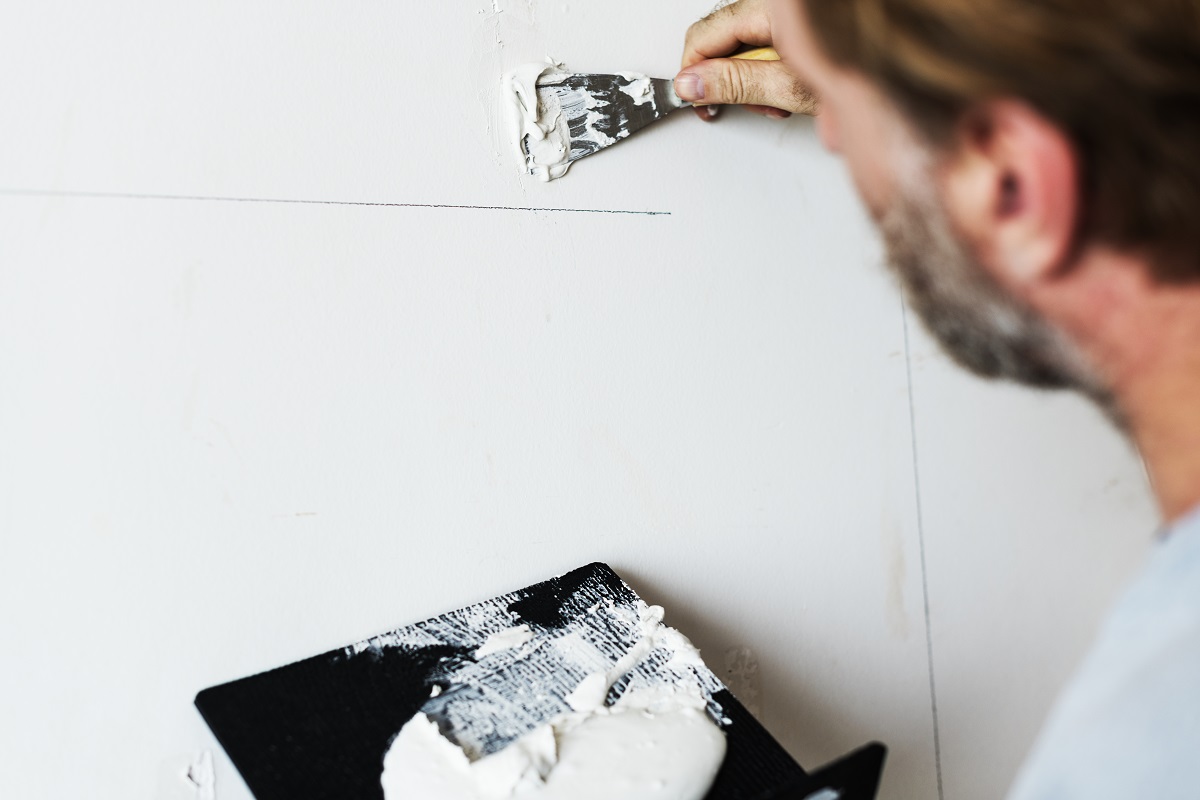
How to Patch a Hole in Drywall Step-by-Step
Small Holes (Less Than ½ Inch)
- Wipe the Area Clean – Dust can prevent the compound from sticking.
- Apply Spackle – Fill the hole with a small amount and scrape smooth.
- Let Dry – Most spackle dries in under an hour.
- Sand Smooth – Use fine sandpaper or a sponge to make the area flush.
- Touch Up Paint – Feather out with paint to blend it in.
Pro Tip: Don’t overfill tiny holes. Thin layers dry better and look cleaner.
Medium Holes (Up to 5 Inches)
- Square Off the Edges – Trim around the hole if needed. A clean edge helps the patch adhere.
- Apply Patch – Use a mesh or metal patch centered over the hole.
- Cover With Joint Compound – Smooth over the patch with a wide putty knife. Feather the edges out a few inches.
- Let It Dry and Add Layers – You’ll likely need two to three coats. Let each dry fully and sand between coats.
- Prime and Paint – Use primer to seal the compound before applying color.
Large Holes (Over 5 Inches)
- Cut a Neat Opening – Use a drywall saw or utility knife to cut a square around the damaged section.
- Add Support – Install wood furring strips behind the wall for the patch to attach to.
- Insert New Drywall Piece – Cut and screw in a drywall piece that fits your opening.
- Tape the Seams – Use mesh or paper tape to bridge the gap between old and new drywall.
- Apply Joint Compound – Use several thin layers, letting each dry before sanding and adding the next.
- Sand, Prime, and Paint – Once dry and smooth, finish with primer and matching paint.
How Do You Patch Drywall on a Textured Wall?
Matching texture can be tricky, but here’s a simplified process:
- Try a Spray Texture – Available at most hardware stores, spray texture can mimic orange peel and knockdown finishes.
- Use a Sponge for Blotting – Dip a sponge in thinned joint compound and dab until it resembles the surrounding texture.
- Test Before You Commit – Practice on a scrap piece of drywall or cardboard before applying texture to your wall.
Once it dries and you’re satisfied with the match, you can prime and paint just like any other repair.
Common Drywall Patching Mistakes to Avoid

Even though patching drywall is a beginner-friendly project, there are a few missteps that can make your repair look less than pro. Here’s what to watch out for:
Skipping Primer
It might feel like an optional step, especially if the patch looks perfect. But primer is what seals the joint compound and evens out the surface so the paint blends properly. Without it, even the best patch will flash through the topcoat, leaving a dull or uneven spot that stands out under certain lighting.
Applying Compound Too Thick
When you’re eager to finish the job, it’s tempting to slap on a heavy layer of compound and call it a day. The problem is, thick layers take forever to dry and are more likely to crack or bubble. Stick to thin coats and build up gradually—it’s easier to manage and gives you a cleaner, smoother finish.
Over-Sanding the Patch
Sanding is important, but too much of it can backfire. If you sand too aggressively, you could gouge the wall or sand right through the tape and compound you just worked so hard to apply. Use a light touch and check your progress often. You’re aiming for smooth, not bare drywall.
Not Cleaning Off Dust
After sanding, your wall will be coated in fine dust—and that dust is your enemy when it comes to painting. If you skip the cleanup, the paint or primer won’t stick well, and you’ll end up with a patch that looks blotchy or uneven. Wipe the area down with a damp cloth or tack cloth before you paint to get a clean, dust-free surface.
How Long Will It Take?
Here’s a general breakdown:
| Hole Size | Estimated Time |
| Small | 30 minutes to 1 hour |
| Medium | 2 to 4 hours (across one day) |
| Large | 4 to 6 hours total (over two or more days) |
Most of the repair time is spent waiting for compound to dry between coats.
Wrapping Up
You don’t need to hire a pro every time drywall gets damaged. With basic tools and a little patience, even large holes can be fixed cleanly and affordably. The trick is to work in thin layers, let everything dry thoroughly, and keep your sanding light.
Whether it’s a nail hole from a picture frame or a doorknob-sized dent, your wall can look brand new again in a weekend or less. Try starting with a small repair to build your confidence, and soon you’ll be tackling any drywall damage your home throws your way.