
Roof leaks can be a homeowner’s worst nightmare, especially when the rain is pouring heavily. If you’re a DIY enthusiast, knowing how to identify the causes of roof leaks and how to fix them can save you a lot of money and stress. In this article, we’ll explore the top reasons roof leaks occur during heavy rain and walk you through easy, effective solutions to fix them. Let’s dive in!
Why Your Roof Leaks in Heavy Rain
Heavy rain often acts as a trigger that reveals underlying issues with your roof. When the rain falls consistently for an extended period, the weight and volume of water stress the roof system, highlighting any weaknesses that might otherwise go unnoticed. Understanding the common causes of roof leaks in these conditions will help you act quickly to protect your home.
1. Damaged or Missing Shingles
Shingles are the first line of defense against water penetration. They are designed to overlap and shed water, directing it off the roof. However, over time, they can suffer from wear and tear due to age, severe weather, or general neglect. When shingles crack, curl, or break off, they can no longer protect the underlying layers, leaving your roof vulnerable to leaks. This is especially problematic during heavy rain.
Signs of Damaged Shingles:
- Curled or cracked shingles: Shingles that no longer lie flat against the roof or are cracked from age or heat.
- Missing shingles: A few missing shingles can be enough for water to get under the roof and cause leaks.
- Granules in the gutters: If you notice granules (the sand-like coating on shingles) in your gutters, it could be a sign your shingles are deteriorating.
How to Fix It:
- Inspect the roof: Using a ladder, carefully inspect the roof for missing or damaged shingles. You should look for obvious signs such as shingles with cracked edges, curled corners, or pieces that are completely gone.
- Replace damaged shingles: If the shingle is completely damaged, you’ll need to remove the old one. Use a pry bar to lift up the damaged shingle and remove it. Then, slide a new shingle into place and secure it with roofing nails. Be sure to use the proper type of shingle to match your roof style and color.
- Seal loose shingles: If you notice a shingle that’s loose but not fully damaged, apply roofing cement or adhesive under the shingle and press it back into place. Secure it with roofing nails if necessary.
Taking the time to inspect and replace damaged shingles promptly will ensure water doesn’t get under the roof, helping to prevent leaks during heavy rain.
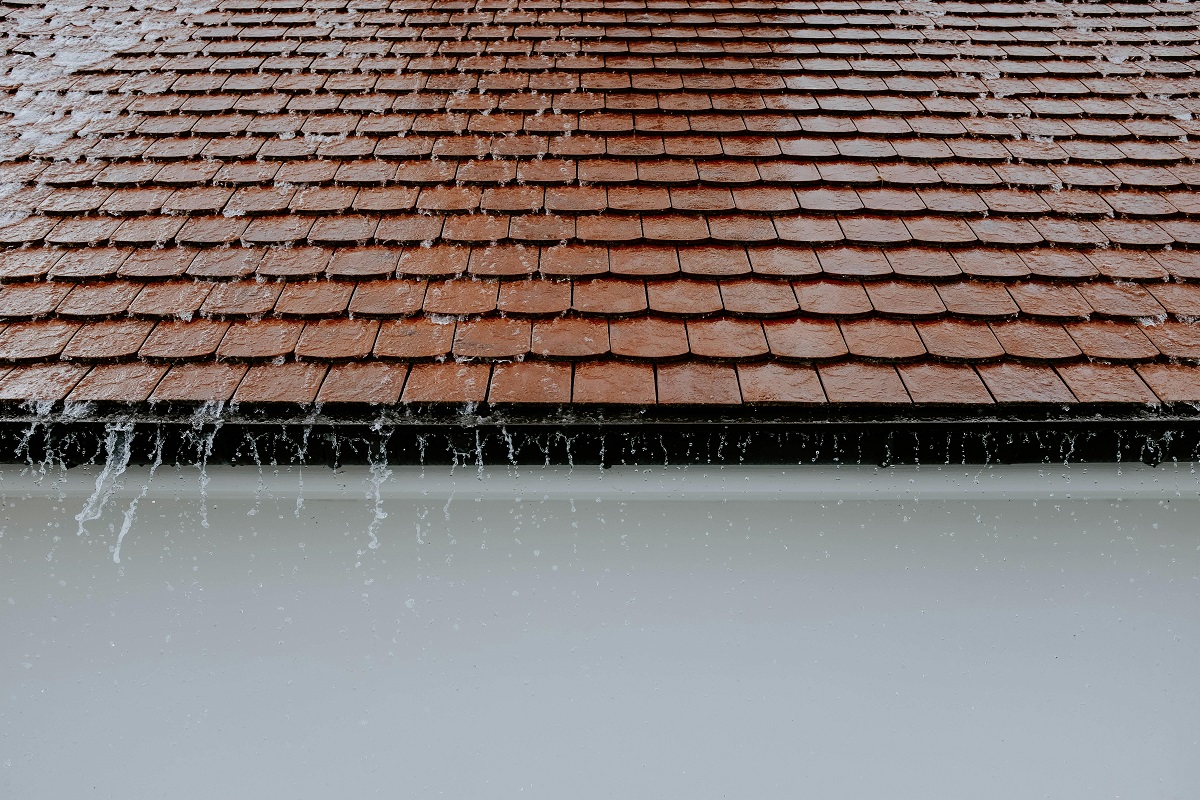
2. Clogged Gutters

Gutters play an essential role in directing rainwater away from your roof and down to the ground. When they become clogged with leaves, debris, or dirt, water can’t flow freely through the system, causing it to overflow. Overflowing gutters can lead to water seeping under the roof and into your attic, creating leaks and water damage.
Signs of Clogged Gutters:
- Overflowing water: If you notice water spilling over the edges of your gutters, it’s a clear sign they are clogged.
- Sagging gutters: Water buildup can cause gutters to sag or pull away from the roof, leaving them less effective.
- Pools of water: Water pooling near the base of your house or around the foundation is another indication that gutters aren’t properly channeling water.
How to Fix It:
- Clean out the gutters: Using a ladder and gloves, carefully remove debris from your gutters. If the debris is stuck, a small scoop or hand trowel will help. Once most of the debris is removed, flush the gutters with a hose to ensure they are clear.
- Check for damage: Once cleaned, inspect the gutters for any cracks or holes. If you find any, seal them with a silicone-based caulk or replace the damaged sections entirely.
- Install gutter guards: To prevent future clogging, consider installing gutter guards. These mesh covers allow water to pass through while keeping leaves and debris out.
Properly functioning gutters are essential to ensuring that water is directed away from the roof and foundation. Keeping them clear of debris will prevent water from pooling and causing leaks.
3. Cracked Flashing
Flashing is the metal material used to seal joints on the roof, such as around chimneys, vents, and skylights. It ensures that water flows off the roof without seeping into these vulnerable areas. If the flashing is damaged, cracked, or loose, it can lead to water infiltrating through the joints, causing leaks.
Signs of Flashing Problems:
- Rust or corrosion: Rust is a sign that the metal is deteriorating, weakening its ability to prevent leaks.
- Cracked or broken flashing: Flashing that’s cracked or broken due to age or weather exposure can allow water to penetrate through.
- Water stains around roof joints: If you notice water stains or dampness on the ceiling near roof joints or vents, it could be due to faulty flashing.
How to Fix It:
- Inspect the flashing: Check the flashing around chimneys, vents, skylights, and other roof penetrations. Look for signs of rust, cracks, or damage. Pay particular attention to the seals where the flashing meets the roof.
- Replace damaged flashing: If you find cracked or rusted flashing, remove it and replace it with new material. When installing the new flashing, make sure it’s properly sealed and securely attached to prevent water infiltration.
- Seal gaps: For minor issues, apply roofing sealant along the seams of the flashing to ensure a watertight seal.
Ensuring that your flashing is in good condition is key to preventing leaks in areas where water is more likely to gather.
4. Damaged Roof Valleys
Roof valleys are the areas where two sections of the roof meet and form a V-shaped channel. These areas are particularly vulnerable to leaks because they direct large amounts of water from multiple sections of the roof. If the shingles or flashing in these valleys become damaged, water can pool and eventually leak into your home.
Signs of Valley Damage:
- Missing or damaged shingles: If the shingles in the valley are damaged or missing, they won’t effectively direct water off the roof.
- Water stains below the valley: Leaks in roof valleys often manifest as water stains on ceilings or walls below.
- Visible cracks in flashing: The flashing in roof valleys is often made of metal and can crack over time.
How to Fix It:
- Inspect the valley: Carefully check the shingles and flashing along the valleys. Look for missing shingles or damaged flashing.
- Replace damaged shingles or flashing: If the shingles are damaged or missing, replace them by lifting the adjacent shingles and sliding in new ones. For flashing, remove the old material and replace it with a new section.
- Apply sealant: Once the shingles and flashing are replaced, apply a bead of roofing sealant along the edges of the flashing to ensure a watertight seal.
Regular inspection and repair of roof valleys will help prevent leaks from pooling water, especially during heavy rain.
5. Poor Roof Ventilation

Roof ventilation allows warm, moist air to escape from the attic, preventing condensation from building up under the roof. Without adequate ventilation, moisture can accumulate, causing the roof materials to deteriorate more quickly and leading to potential leaks.
Signs of Poor Ventilation:
- Condensation in the attic: If you notice moisture buildup in the attic, it’s a sign that ventilation may be insufficient.
- Mold or mildew: Poor ventilation can lead to mold and mildew growth in the attic, which weakens roof materials over time.
- Stuffy or humid attic air: If your attic feels excessively humid or stuffy, it’s a sign of poor airflow.
How to Fix It:
- Inspect attic vents: Check the soffit vents, ridge vents, and other roof ventilation systems to ensure they’re clear of obstructions like insulation or debris.
- Increase ventilation: If your attic has limited ventilation, consider installing additional vents to allow more airflow. This might include adding ridge vents along the roof peaks or soffit vents along the eaves.
- Install an attic fan: In areas with extreme heat or humidity, installing an attic fan can help reduce moisture buildup by actively pushing hot air out of the attic.
Proper roof ventilation not only reduces the risk of leaks but also extends the life of your roof.
6. Improperly Sealed Roof Penetrations
Roof penetrations are any areas where objects like pipes, vents, or chimneys pass through the roof. If these penetrations are not properly sealed, rainwater can easily seep into your home, causing leaks.
Signs of Leaks Around Roof Penetrations:
- Water stains near pipes or vents: If you notice water stains or drips around areas where pipes, vents, or chimneys pass through the roof, it may be due to improperly sealed penetrations.
- Wet insulation around roof penetrations: Moist insulation near roof penetrations is a clear sign of water infiltration.
How to Fix It:
- Inspect penetrations: Check around all pipes, vents, and chimneys for any gaps or cracks in the sealant. Look for signs of wear, such as cracked rubber boots or missing caulk.
- Re-seal penetrations: Apply a new layer of roofing sealant around the penetration. If the rubber boot around a pipe is damaged, replace it with a new one.
- Install new flashing: If the flashing around a vent or chimney is damaged, remove the old material and replace it with new flashing to ensure a secure, watertight seal.
Sealing roof penetrations properly is crucial to keeping your home safe from leaks during heavy rain.
7. Worn-out Underlayment
The underlayment is the layer of material placed underneath your shingles that provides an additional barrier against water. If the underlayment becomes damaged or worn out, it will no longer protect your roof from leaks.
Signs of Underlayment Issues:
- Leaks even with intact shingles: If water is leaking through your roof but the shingles appear to be intact, the underlayment may be compromised.
- Water stains or damp spots: Wet spots on the ceiling or walls can indicate that the underlayment is no longer performing its job.
How to Fix It:
- Inspect the underlayment: To check for underlayment issues, you may need to remove a few shingles to access the underlying layers.
- Replace damaged underlayment: If the underlayment is damaged or worn, you’ll need to remove the affected shingles and replace the underlayment. This is often a more complex job, so if you’re unsure, it might be best to consult a professional.
In Summary
Roof leaks during heavy rain are often caused by a combination of factors, including damaged shingles, clogged gutters, cracked flashing, and poor roof ventilation. By getting a good grasp of the common causes of leaks and performing regular maintenance, you can prevent most of these issues from escalating. Regular roof inspections, timely repairs, and keeping your gutters clean will protect your home from water damage. If you’re ever unsure about tackling a repair yourself, don’t hesitate to call in a professional to make sure that your roof remains leak-free for years to come. Keeping your roof in good condition is a key part of protecting your home, especially during those heavy rainstorms.